Handwriting - specifically cursive - is a lost art for our children.
Not only is at a lost art, it is also a lost form of communication.
We all know the benefits of learning cursive - it aids in early reading, builds a habit of attention, and is quite simply a beautiful form of communication.
I still remember my third grade teacher teaching us cursive. I use that cursive to this day, and people often remark about my pretty handwriting.
My own children's handwriting, however, has been elusive - it's an area where I feel I didn't quite do them justice. I'm so pleased to share with you today a program that I WISH I could have used when my children were young. I think our handwriting would have been better.
This might be a different way to teach handwriting - different from what you have been taught to believe is right - but it works and that's what MATTERS.

* I received the Script-n-Scribe Handwriting Program to review. I have not been compensated for this post, and never promote anything we don't wholeheartedly recommend. This post contains affiliate links.
I've watched my own children learn the physical act of print and cursive. One child learned in school until the third grade when I brought her home. The approach was hodge podge - learning a cursive letter a week in school during a quick morning time on the board. My daughter didn't learn good handwriting or the importance of it in school.
When I brought her home for school we tried to remediate, but I think the stage was past. Her handwriting is OK - but not great.
My youngest began handwriting instruction in preschool and then I brought him home for school where I continued teaching handwriting from a simple workbook. His handwriting is GOOD, but there are some things I would do over - some letters I wish he knew how to form better.
One very interesting thing I noticed, however, was that it was easier for both of them to learn CURSIVE. I thought this was odd (considering all I had been taught about handwriting in public school) - but went with it because it worked for MY CHILDREN.
There's a lesson in that -- what you learned in the public school is NOT gospel! Go with your gut and your own research!
About the Script-n-Scribe Handwriting Program
Brandy, at Half-a-Hundred Acre Wood, noticed this same thing, too, and began developing a handwriting program to use with her own children.
Oh, how I wish my children had been able to learn from the start with this program. It is so well organized and perfect for all types of learners.
And, if you know Brandy and are familiar with her work as a Classical homeschooling mother and writer, that work is of the HIGHEST excellence.
This program reflects Brandy's background as a Classical homeschooling mother. It teaches our children the basic GRAMMAR of how to form letters, provides them ample practice, and then allows them to demonstrate their beautiful handwriting.
I have the 137 page handwriting resource, as well as the wood and acrylic writing cards. I can't emphasize enough - everything is BEAUTIFUL and inspiring!

I took the downloadable pdf file to the office supply store and had it printed and spiral bound. My son will be working through this program this summer - just to be sure we've got his handwriting in good shape!
(Now a bound version of the workbook is available in the shop, too!)
What does this 137 page resource include?
- Lowercase cursive instruction cards
- Uppercase cursive instruction cards
- Bookface print phonogram cards
- Numeral instruction cards
- 84 page practice workbook
From a very practical standpoint, this workbook walks our children through every single step of making their letters. It is sequential, logical, and sets our children up for success.
The roller coaster analogy is perfect: hills, ramps, drops, loops, and curves -- make this handwriting instruction easy to understand for children.
Cursive Handwriting Instruction for Tactile Learners
The most beautiful feature of this program are the sets of wood and acrylic cards for your tactile learners! All of these are hand cut by Brandy's husband in their shop in Tennessee.
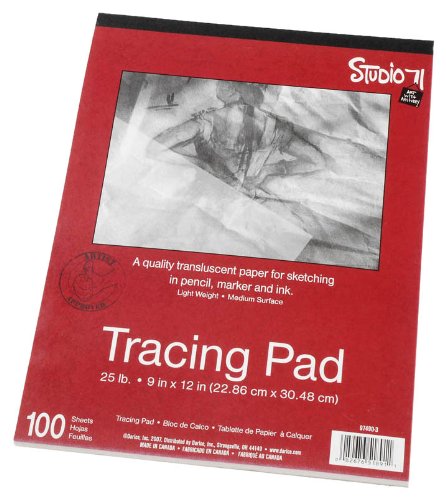
The wood cards can be finger traced to learn how to shape them correctly.

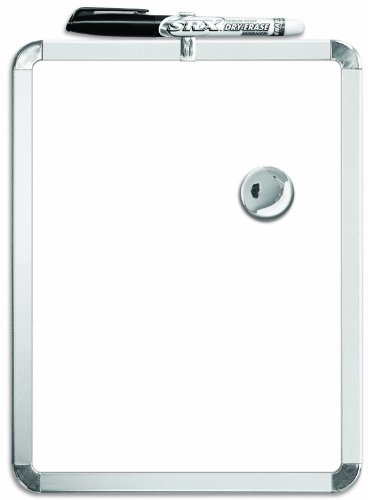
The acrylic cards can be traced with an Expo marker (Brandy even includes a small cloth for erasing).
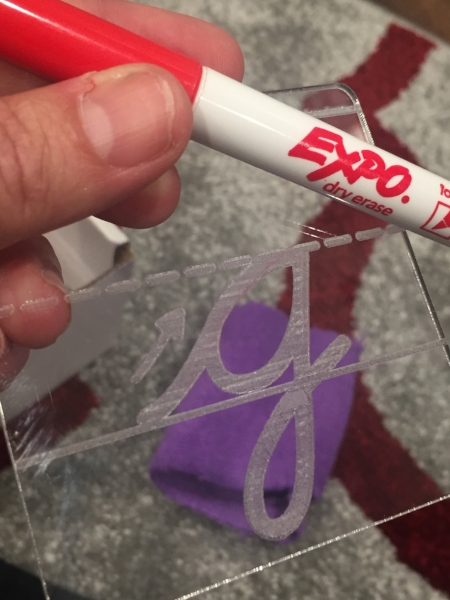
When I showed these acrylic cards to my son his exact words were:
"Using these would have made learning cursive a lot more fun and a whole lot easier for me."
~ Grant, age 12
This tactile component to Brandy's program is the real clincher for me. I used another popular handwriting instruction method with my oldest, but it was extremely costly and had many things to purchase.
With the Script-n-Scribe Roller Coaster Writer you simply need the workbook! If you choose you can purchase the wood or acrylic cards for your tactile learners. But that's it.
Simple. Easy. Done. (just the way I like my homeschool resources)
*I also want to point you to Brandy's Poetry Penmanship & Memorization - such a lovely resource.

Find Out More About Script-n-Scribe Introduction to Cursive
Brandy has a thorough description of everything on her website. I highly recommend you spend some time reading her reasoning behind why she has done what's she done with this program. You will be impressed.
The workbooks are available as a pdf download, or (newly available) a bound version!
I'm excited for the future of this handwriting program - it is in its infancy and I know Brandy and her husband are developing more products that will be available soon. What a blessing this is to homeschooling families, and I'm happy I could share it with you!
Have you taught your children handwriting? Tell me about it!